Swirls By Simon
Share
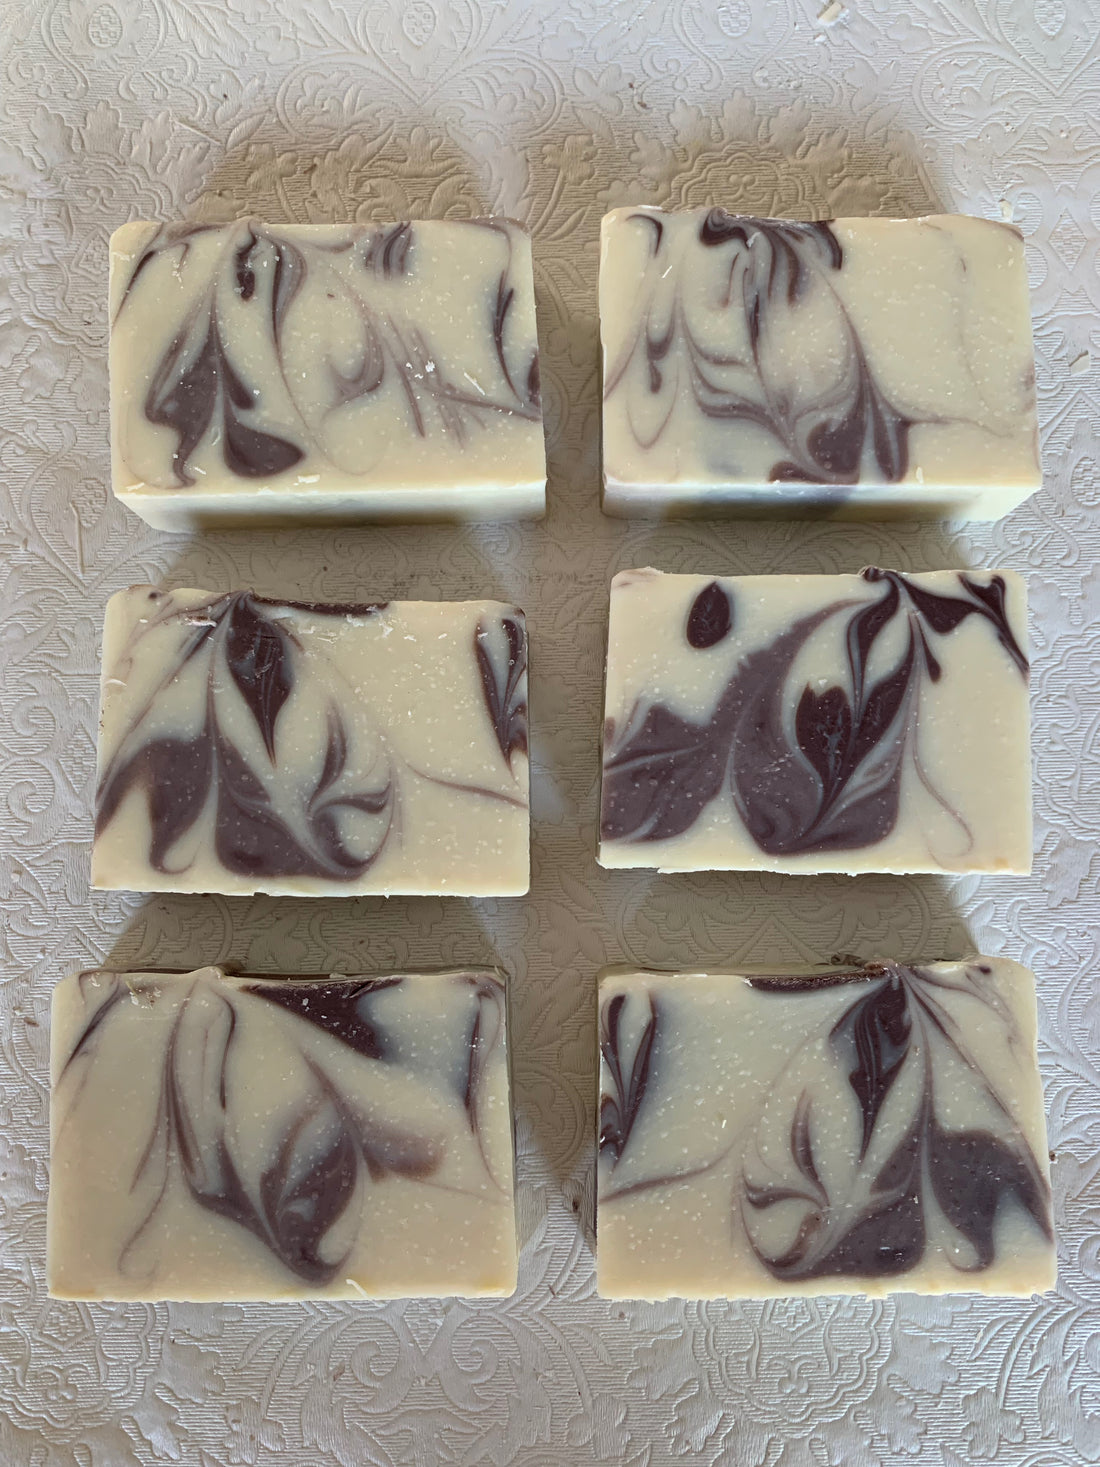
Each of our bars of soap has a unique swirl by Simon. These eye-catching swirls can be seen from the top of the bar and the side of the bar.


The swirling is the last step in the soap making process. In our experience, the key factor to a great swirl is the thickness of the soap mixture when it is poured into the mold and how much it is swirled. As soap is mixed it will thicken and eventually solidify. The temperature of the oils and lye along with essential oils can affect the speed of this thickening process. Sometimes, like with our Bloom bars, essential oils can speed the process up a lot and we need to work quickly to pour and swirl. A thick mixture means less swirls and more peaks at the top of the bar.
Once we have achieved the right consistency, we pour about ¼ of the mixture into a large pitcher. Simon will whisk in the charcoal or clay which provide the contrast for the swirl. Meanwhile, Caroline will pour the main portion of the soap into the prepared mold. The smaller portion is poured into the mold lengthwise making several passes. When the pitcher is poured high (18 inches) above the mold, the contrast soap with sink lower in the mold and when the pitcher is poured closer to the mold (as close as 1 inch) it will stay close to the surface of the soap. By varying the height of the pitcher, the contrast soap is distributed throughout the mold.
Simon uses two tools to create the swirls. This stick tool and hanger tool were gifted to us by a local business, Gagnon’s Gadgets and we love these tools!

Simon uses the stick tool first to work in tight circles down the length of the mold. He will repeat this several times for the full width of the mold.

Next, Simon uses the hanger tool is an up and down circular motion working across the width of the mold.
It isn’t until we cut the soap a few days later that we get to see the results. Each bar is unique! And that is how our soap gets its #SwirlsBySimon.


